

Getting started / 4 min
Confirm the elevation scale
Check one known dimension before you create quantities.
Example project: Cedar Pavilion. Fictional drawings, actual product interface. Tutorial steps describe the intended workflow; complete project acceptance remains under review.
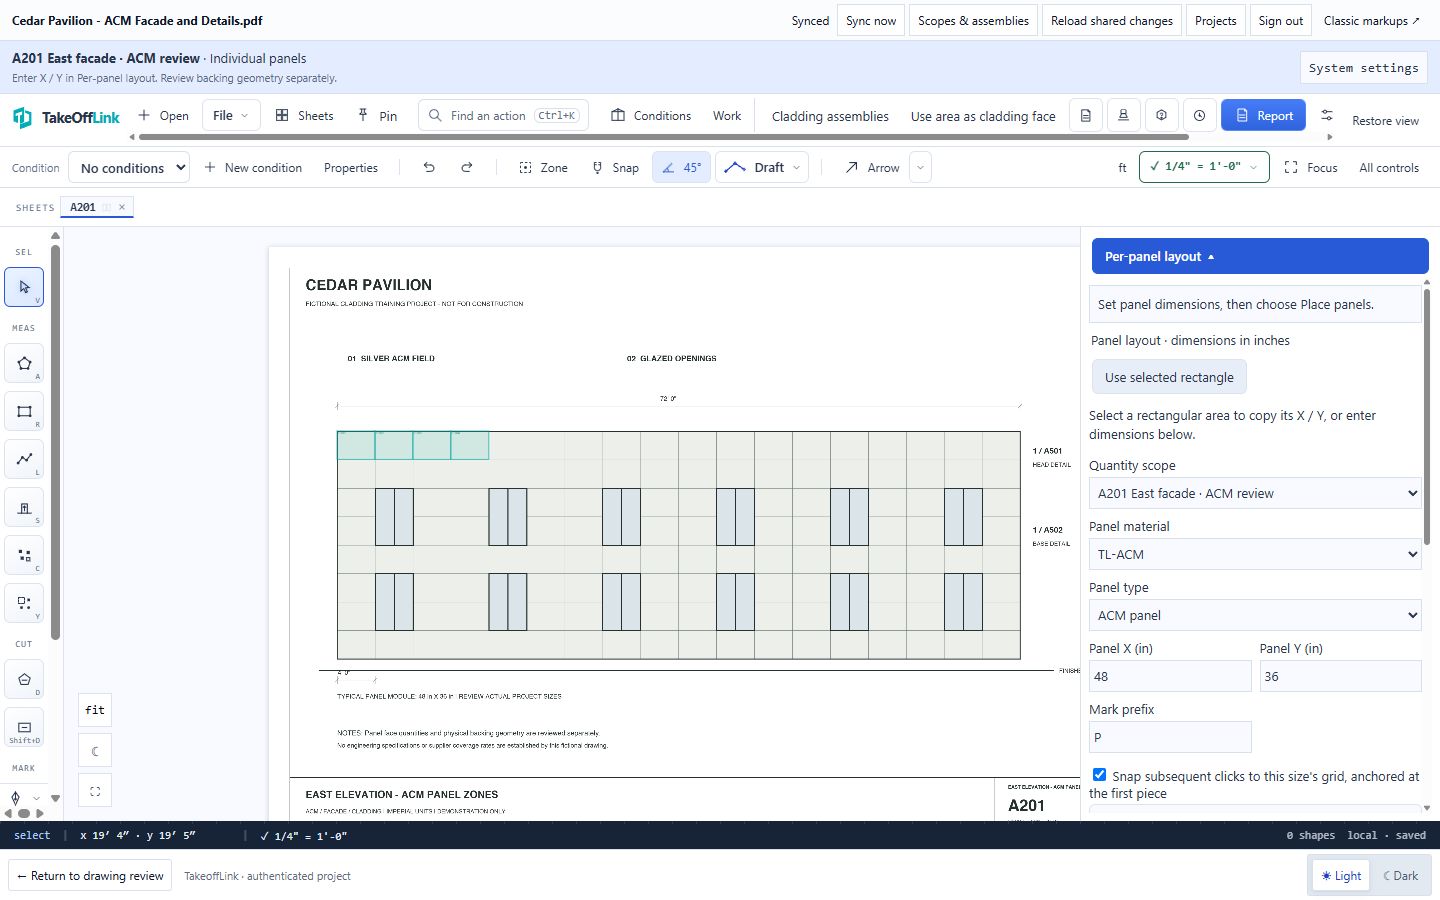
Read the printed scale
Locate the scale note for the elevation. A sheet can contain details drawn at different scales.
Set and verify
Open the scale control for the current sheet. Use a known dimension and the calibration tool to check the measured distance.
Confirm the working area
Verify that your calibration applies to the elevation being measured, rather than an inset detail. Keep units imperial.
Review after a revision
When drawings or calibration change, review affected saved faces and panel placements. Resolve stale inputs before using their quantities.
A known drawing dimension agrees with the measured distance, and you know which view the scale applies to.