

TakeOffLink / 6 min
Set up an ACM or Profile scope
Give each scope a clear name and choose the components the estimate actually carries.
Example project: Cedar Pavilion. Fictional drawings, actual product interface. Tutorial steps describe the intended workflow; complete project acceptance remains under review.
Name the scope
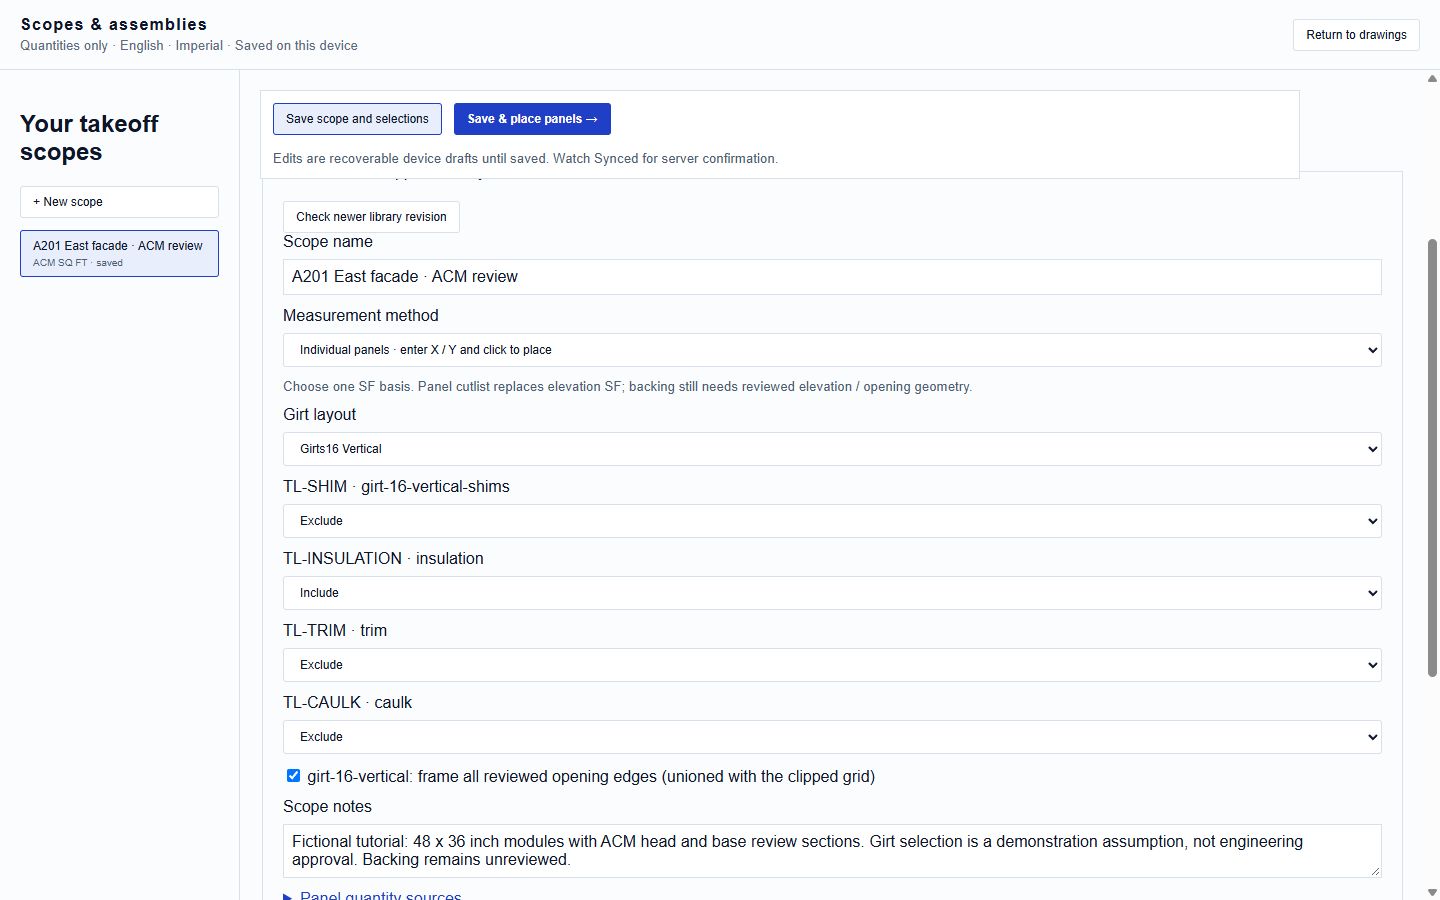
Open Scopes & assemblies. Choose ACM or Profile and use a meaningful name such as A201 east facade - ACM.
Configure the system
Choose the applicable girt direction and spacing. Explicitly include or exclude insulation, fixing, shims, sealant and flashing as required by the scope. These are estimate inputs, not engineered defaults.
Select the quantity source
Choose area measurement or individual panels. For a scope with multiple panel materials, select the material input for the applicable assembly component.
Save and continue
Save the scope, then use Save & measure area or Save & place panels. For Profile, use the product-specific effective coverage; do not assume a universal width.
The saved scope identifies the cladding system, material sources and selected optional components.